Feet Removal Procedure
Guide to removing feet from HIL604 devices
By default, some HIL devices ship with feet attached. If the unit needs to be mounted in a 19” cabinet, these feet might occupy additional space. This chapter describes how to remove these feet.
Feet removal procedure - after 00604-00-00375
Note: This procedure applies to HIL604 devices with a serial
number after 00604-00-00375.
- Remove the rubber plugs, and undo the TX20 bolts which attach the feet to the
bottom cover:
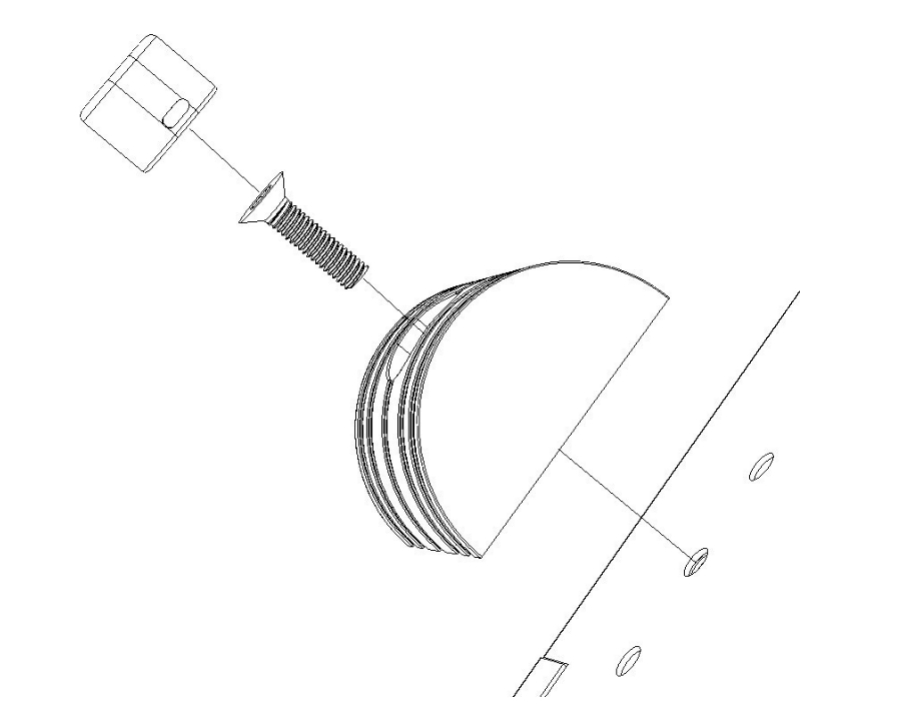
- Pull out the feet.
Feet removal procedure - up to 00604-00-00375
Note: This procedure applies to HIL604 devices with a serial
number up to 00604-00-00375.
- Remove the side panels by undoing eight Torx-10 bolts on the side plate, four on each side:
Figure 1. Side cover bolts 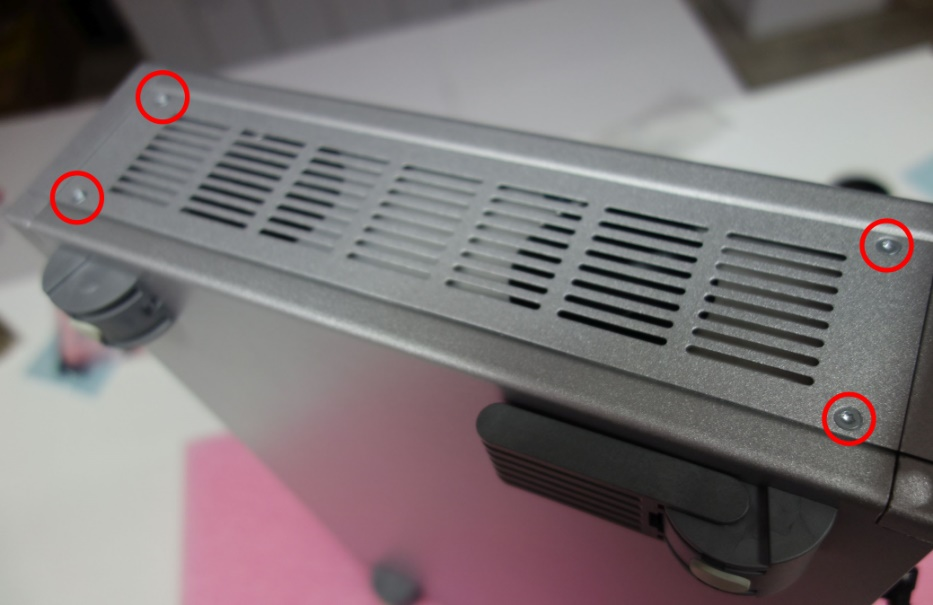
- Remove the bottom cover, start by pulling on the circled area:
Figure 2. Bottom cover removal 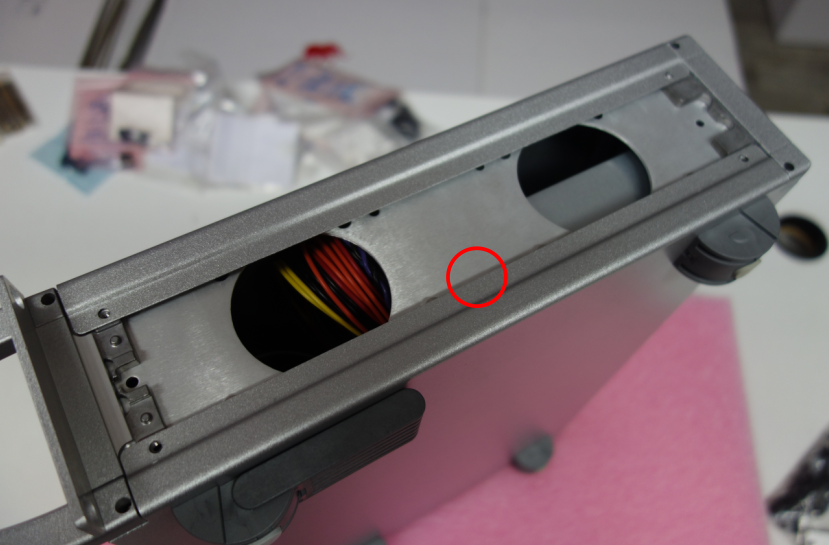
- Remove the feet by undoing eight Torx-10 screws on the bottom plate:
Figure 3. Feet-holding bolts 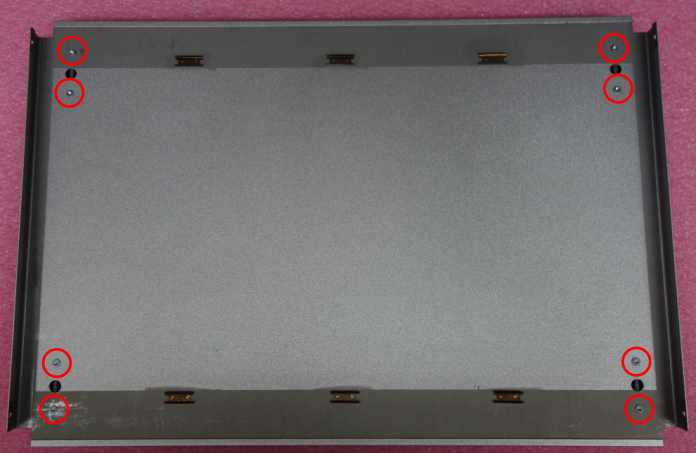
- Restore the bottom plate. Six latches should mate with the enclosure frame. If
there is a gap between front/rear plate and the bottom cover, apply pressure to
that area:
Figure 4. Gap which should be eliminated 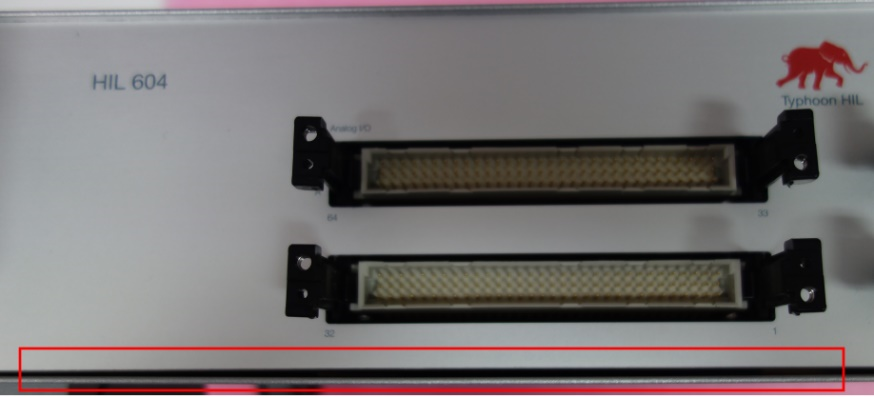
- Restore the side plates.