Schematic comments
Description of how to create comment objects in a schematic.
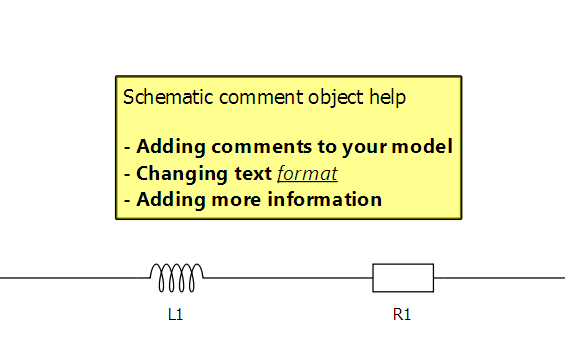
Schematic comments are rectangular objects that can display custom text, and are normally used to clarify or describe parts of the model. An example is shown in Figure 1.
Creating schematic comments
Schematic comments can be created by right-clicking to access the context menu and selecting Add comment to model (Figure 2).

Once selected, the dialog box shown in Figure 3 appears.
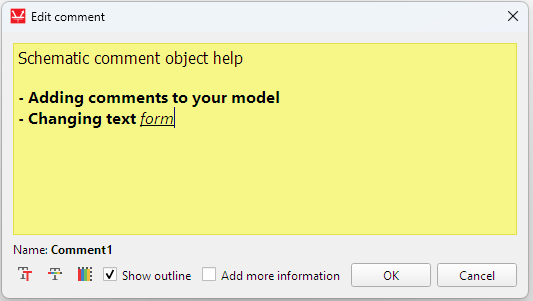
- Font
- Font color
- Comment background color
- Display an outline around the comment
Adding more information
The Add more information checkbox displays new options, as illustrated in Figure 4. They allow you to add more information to be displayed by the comment in the form of plain text, or by loading from an external HTML or PDF file. When loading a file, the default behavior is that a relative path to it will be saved. However, you can check the Embed box for the loaded file to be included in the model file. Please notice that this will increase the file size and parsing time.

With more information included, an extra icon will appear on the left side of the comment in the schematic canvas (Figure 5).
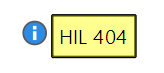
Clicking on it displays the content of the file or the plain text in a new window.